Confused about why I’m sending out recipes on Substack? Click here to read the backstory.
It is my firmly held belief that you’ve never really tried a marshmallow until you’ve tried a homemade marshmallow.
Marshmallows should be simple. In essence, they’re just little cubes of gelatin, sugar, and water. One of the major problems with store-bought marshmallows is that the gelatin is often omitted from the recipe entirely, or greatly reduced, and replaced with corn starch.
The problem with this is that gelatin is what makes marshmallows worth eating! Gelatin is derived from the collagen of animals (generally cows, chickens or fish), and is a high-protein, low carbohydrate, flavorless powder that becomes gelatinous in texture when combined with liquid. Corn starch, on the other hand, is a highly processed filler, void of nutrition, and contains four and a half times the amount of carbohydrates as gelatin.
Take a look at the two nutrition labels below. The first is for a generic “normal” package of store-bought marshmallows, and the second is for a generic vegan package.
Vegan or not, both are essentially the same - worthless cubes of sugary corn starch with artificial colors and fillers.
In doing a bit of research, I was able to find a few brands that sell high-quality packaged marshmallows that contain only gelatin and sugar as the main ingredients, but they’re pretty pricey. Also, the quality of the gelatin matters. Since gelatin is derived from the skin, bones, and connective tissues of animals, it’s important to know the source of the gelatin that’s being used, and most companies who sell packaged marshmallows don’t disclose this information.
For the cost of one bag of the highest quality packaged marshmallows I could find, I calculated that I could make about six batches of homemade marshmallows for the same price. One homemade marshmallow costs about 11 cents, whereas one high-quality packaged marshmallow costs 75 cents. In addition to the cost savings, when I make these at home, I can also customize the ingredients however I want, and ensure I am consuming the highest quality gelatin.
I’ve been using Vital Farms’ gelatin for years, and it never disappoints. If you’re thinking of purchasing some, you can also use it to make homemade jell-o, gummies, panna cotta, and any other gelatinous food you can think of. I highly recommend Vital Farms' collagen as well, which you can add to smoothies, beverages, etc. as a flavorless protein powder. Unlike gelatin, collagen doesn’t become thick and gelatinous, it just dissolves, so it’s easy to hide in beverages or soft foods. In addition to being high in protein, both gelatin and collagen have also been shown to be beneficial for supporting the health of hair, skin, nails, and our digestive systems.
The only tool you need to make these homemade marshmallows is an electric hand-held mixer, or a stand mixer. I’m always surprised to learn how many people don’t have electric hand-held mixers, because I use mine all the time, especially for making homemade whipped cream, which similar to marshmallows, far outpaces its store-bought equivalent. Here is some information about how many different things you can do with an electric mixer. You don’t need anything fancy when it comes to these, the cheapest one will do the trick!
A cooking thermometer like this one is also helpful for this recipe, but it’s not entirely necessary.
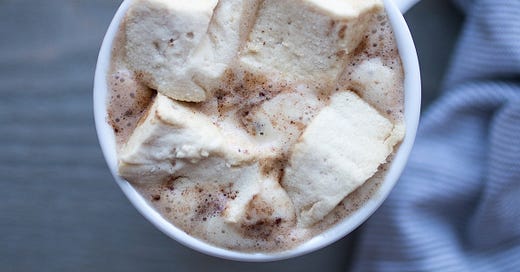
Once you’ve finished making the marshmallows, you can use them in place of packaged marshmallows in any recipe, including in s’mores, or melted on top of roasted sweet potatoes or hot chocolate. You can also eat them on their own as a tasty, melt-in-your-mouth, gut-healthy treat.
Homemade Maple Marshmallows
Makes about 60 marshmallows
Ingredients
1 cup water (split in two)
3 tablespoons pasture-raised gelatin
1 cup dark maple syrup (or any other liquid sweetener like honey or coconut nectar)
2 teaspoons vanilla extract
1 tablespoon arrowroot powder or tapioca starch (plus a little extra)
Instructions
Prepare a medium sized, parchment-lined baking dish (about 9x9 or similar) and dust with 1/2 tablespoon arrowroot powder or tapioca starch. (This is to help prevent the marshmallows from sticking to the parchment paper).
In a large bowl (or in the bowl of your stand mixer if you have one), combine gelatin and 1/2 cup water. Allow to sit while you prepare the rest of the ingredients. (The texture of the water/gelatin mixture will become thick and gummy, but don’t worry, it will dissolve again when you add the remaining ingredients).
While the gelatin and water sit, combine maple syrup, vanilla extract and the remaining 1/2 cup water to a small sauce pan.
Bring the mixture to a boil and heat, stirring occasionally, ensuring the mixture doesn’t bubble up too much and overflow, for about 10-15 minutes. This might seem like a long time, but it’s important that the ingredients reach a temperature of at least 220°. (This is where that thermometer can come in handy!) Monitor this process carefully, and make sure that the ingredients don’t burn.
Once the syrup mixture is hot as hell, gently pour it into your bowl with the gelatin and water, scraping the sides of the sauce pan to ensure you get all of it out.
Beat the ingredients on high with a hand mixer or stand mixer until the mixture starts to look like marshmallow fluff. Depending on whether you’re using a hand-held mixer or a stand mixer, the time needed can greatly vary, so instead of tracking time, it’s best to watch the consistency of the ingredients. Once they start to become light in color and resemble something fluffy and whipped, you’re done. Be careful not to over-whip the ingredients, or they will become very difficult to work with.
Quickly but carefully pour the mixture into your baking dish, making sure to scrape the sides of the bowl. The mixture will become thicker and stickier by the second, so don’t delay with this step!
Once the mixture is poured and leveled in your baking dish, sprinkle the remaining 1/2 tablespoon arrowroot powder or potato starch over the top.
Allow the mixture to set in the baking dish for 3-4 hours.
Once the mixture has set, pull the parchment paper out of the pan and peel it away from the giant marshmallow.
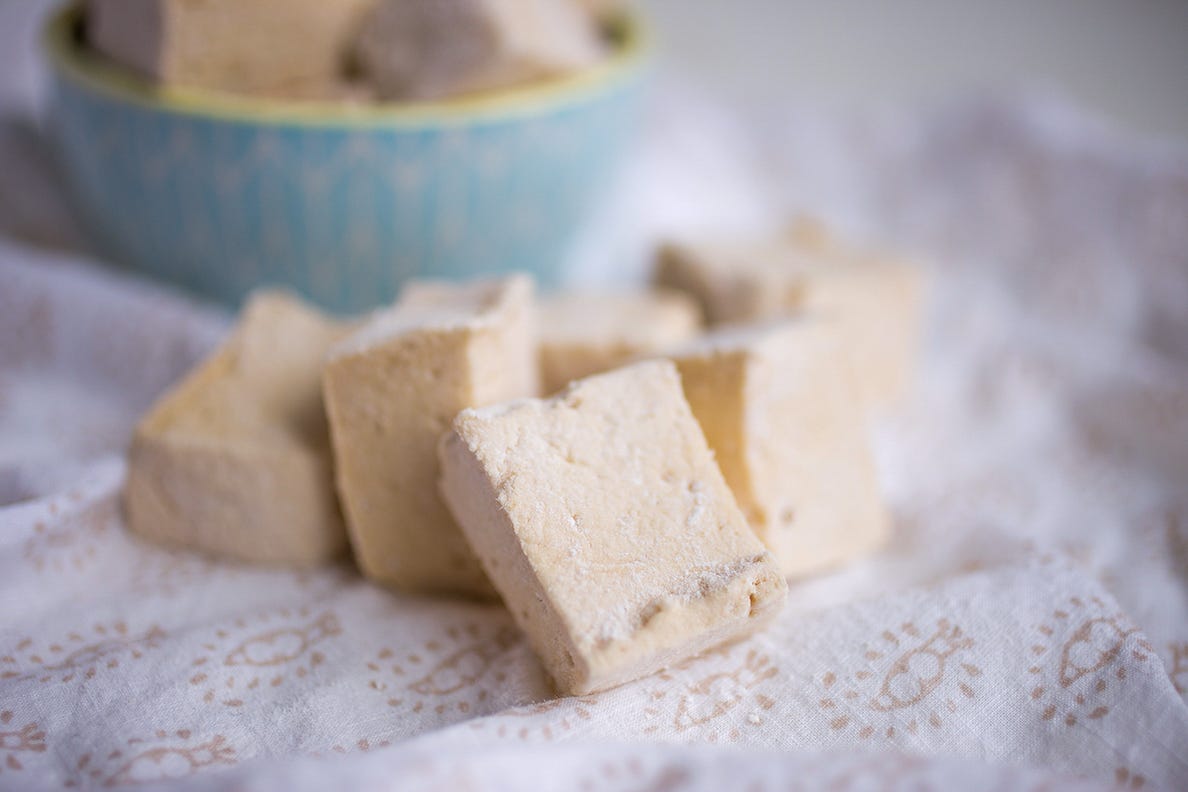
Slice the marshmallow into 1-inch square pieces and place all the pieces in a bowl. Sprinkle a little extra arrowroot or potato starch on top, and stir to make sure each side of each marshmallow is covered, ensuring that they won’t stick to one another.
Enjoy & store in an airtight container in the fridge for up to a month.
If you do decide to make this recipe, please let me know what you think in the comments below, or tag me on Instagram @anya.kaats with a photo of your creation!


Love this recipe Anya, will have to try one day.